The Darkroom
Unpacking the physics and chemistry behind a simple picture
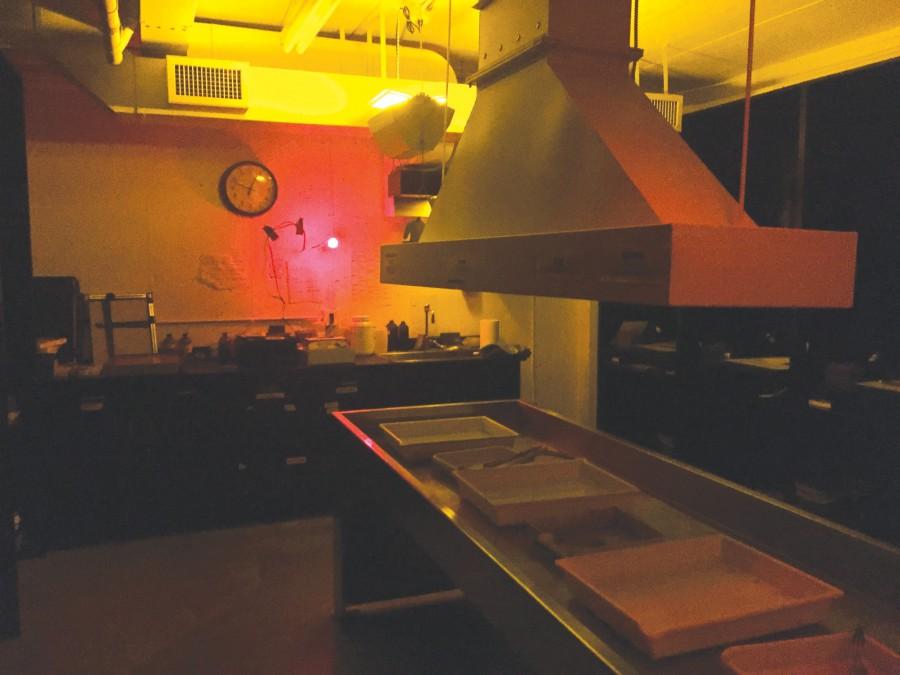
The school’s darkroom, which in use is illuminated by a dim red light so that students can see what they are doing, but the film isn’t overexposed.
“[Photography can] make a tiny fragment of time have meaning,” says Cameron Downey ’17. Photography is a form of art that we create all the time. It’s simple, right? A quick picture and an entire moment is encapsulated forever.
The school offers a wide range of photography courses for all levels of experience and provides the students with a darkroom in which to develop their photos. However, even with so many talented photographers in our midst, most of us don’t know the chemical process behind black-and-white photography.
The first step to making a photograph is capturing the light. “There’s some kind of ambient light source [such as the sun] showering down on us,” says physics teacher Steve Kaback. “The light reflects off an object, and then…moves out radially.” In other words, the light reflects off the object in all directions.
Some of this reflected light then moves into the lens. The change to glass, a denser medium, or material, slows down the light.
There are several major attributes of the lens that the photographer can change in order to influence the type of image produced. These are the f-stop, which shifts the focal length of the camera by moving the lens back and forth; the shutter speed, which dictates the length of time the film is exposed to the light; and the aperture, which dictates the amount of light that the lens lets through.
Now that the light has gotten to the film, several things need to happen before we have a complete photo.
First, photography teacher Brian Sago says, the light imprints onto the silver nitrate in the film. “You’ve got a film that’s cellulose-based, and the cellulose can hold that silver nitrate. The silver nitrate is sensitive to light, and essentially wants to turn dark when it’s exposed to light.”
After the photo is taken, it’s enlarged in the darkroom, using a small light to transfer the image from the film to the paper. This process also turns the image from a “negative” – with the colors reversed – to a “positive” – with the colors the same as we would expect to see when it’s done. The photosensitive paper is made of silver nitrate suspended in gelatin. This paper is then placed in a variety of chemical baths, the first of which is called the developer, which is a basic solution that turns silver nitrate that has been exposed to light black. The darkness of each section of film is proportional to its amount of exposure to light.
Next, the photo is placed in the stop bath, an acidic solution to neutralize the developer – “basically preventing the developer from doing any further work,” says Sago.
Afterwards, the print is put in a type of bleach called the fix, which washes off the excess silver nitrate, preserving the photo.
The final step is to place the photo in Photoflo, which breaks up excess water droplets on the paper, protecting the photo from potential water damage.
Taking a selfie or a picture of something interesting you see might seem like a simple process, but, as we’ve seen, there’s serious physical and chemical science behind it.

Deniz has been an "editor" since the beginning of his junior year and declares himself the "bananagram king." He enjoys the color brown and long walks...


